
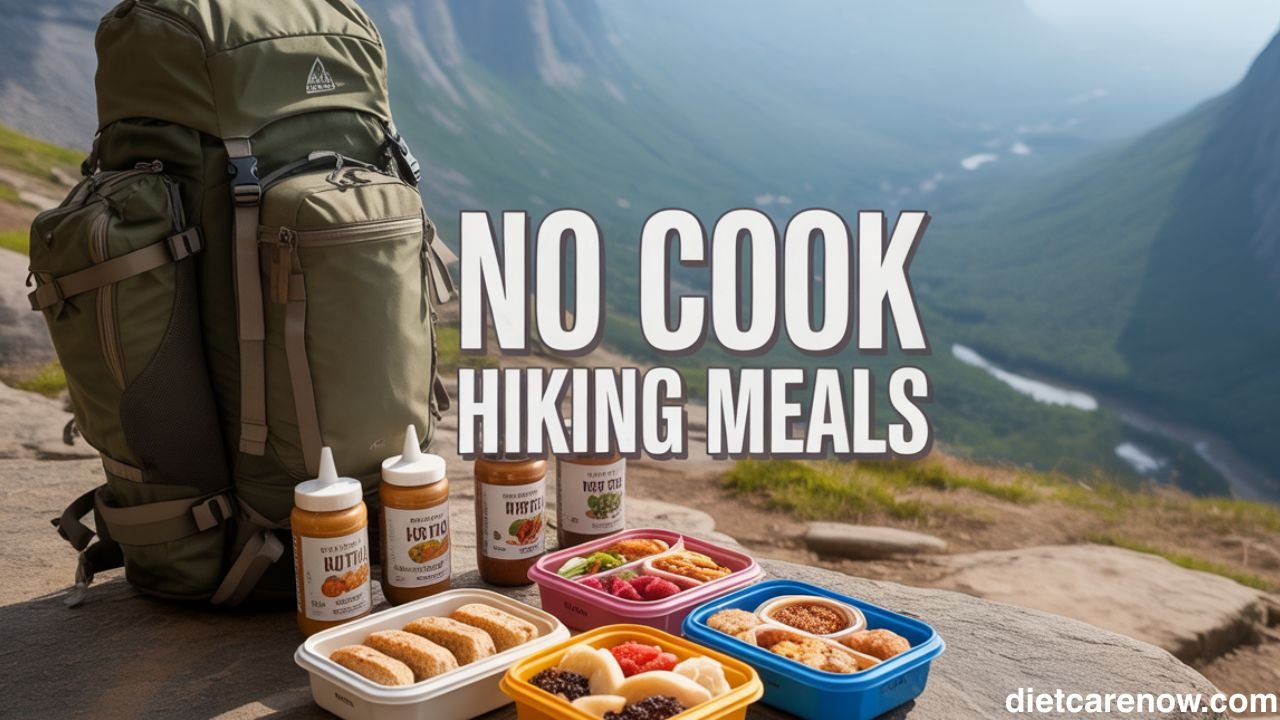
When you’re deep in the wilderness, the last thing you want to do after a long climb is fumble with a stove or wait for water to boil. That’s where no-cook hiking meals save the day. These are meals that require little to no preparation — no fire, no fuel, and no cleanup.Cooking on the trail can be tricky. Windy conditions, fuel shortages, or fire restrictions often make it difficult or unsafe. Plus, after hiking for hours, your energy levels are better spent relaxing than setting up camp kitchens.
No-cook meals bring convenience, save time, and conserve your energy. They’re lightweight, mess-free, and can be prepped in minutes — sometimes just by adding cold water. This makes them ideal not only for ultralight hikers but also for short weekend trips and emergency food packs. Whether you’re thru-hiking the Appalachian Trail or doing a day hike, having reliable, ready-to-eat options makes the experience smoother and more enjoyable.
Essential Features of a Great No-Cook Hiking Meal
Not all trail foods are created equal. A good no-cook meal should tick a few important boxes:
- Lightweight and Compact
Every ounce matters when you’re carrying your world on your back. Look for dry or dehydrated foods, energy-dense snacks, and items that don’t require bulky packaging. - High in Calories and Nutrients
You burn more calories while hiking — anywhere from 3,000 to 6,000 a day depending on intensity. Choose foods rich in complex carbs for long-lasting energy, healthy fats for sustained fuel, and protein for muscle repair. - Long Shelf Life
You can’t rely on refrigeration, so your food should last several days without spoiling. Dehydrated or freeze-dried foods, sealed nut butters, hard cheeses, and jerky are reliable choices. - Easy to Prepare
Ideally, you should be able to prepare a meal with little more than a spoon or your hands. Meals that can be eaten straight from their packaging or rehydrated in cold water are perfect.
Also read: /peanut-butter-banana-chocolate-smoothie/

Nutrition on the Trail: What Your Body Needs
Hiking is hard work. Your body needs a steady supply of energy and nutrients to keep moving efficiently.
- Carbohydrates
Carbs are your body’s preferred fuel source during intense activity. Whole grains, dried fruits, and energy bars deliver quick yet steady energy. - Proteins
Protein helps rebuild muscles and keeps you feeling full longer. Think jerky, nuts, seeds, and tuna packets. - Fats
Healthy fats like olive oil, nut butters, and cheese offer slow-burning energy. They’re also calorie-dense, which is important when pack space is limited. - Electrolytes and Hydration
Sweating depletes sodium, potassium, and magnesium. Keep electrolyte mixes handy, and drink water frequently. Dehydration can sneak up fast in dry or high-altitude conditions.
Packing Smart: Storage Tips for No-Cook Meals
A little organization goes a long way when packing hiking food.
- Use Resealable Bags
Divide meals into daily portions using resealable freezer bags. They keep things dry and make it easy to track what you’ve eaten. - Vacuum-Sealed Pouches
For longer trips, vacuum sealing removes air and prevents spoilage. It’s great for dried meats and cheese. - Lightweight Containers
If you prefer reusable options, pack collapsible silicone containers or lightweight plastic jars. - Keep Food Dry and Fresh
Store food in the center of your backpack to protect it from temperature swings and crushing. Keep a small dry bag for snacks you’ll eat during the day. - Label Everything
Mark each meal with its name and date so you can easily grab the right one. Add calorie info if you like tracking your intake.
Breakfast Ideas for the Trail (No Stove Needed)
Starting the day right matters when you’re hiking for hours.
- Overnight Oats
Combine instant oats, dried fruit, powdered milk, and a bit of sugar in a resealable bag. In the morning, add cold water, stir, and let it sit for 10–15 minutes. - Peanut Butter Wraps
Spread peanut butter on a tortilla, add sliced banana or honey, and roll it up. It’s filling, portable, and packed with protein. - Energy Bars
Choose bars with balanced macros — look for at least 8–10g of protein and some healthy fats. They’re perfect when you want to hit the trail fast. - Cold Coffee Hacks
Bring instant coffee packets and mix them into cold water for quick caffeine. You can also make cold brew concentrate at home and store it in a small bottle.
Energizing Snacks for Mid-Hike Boosts
Snacks are your secret weapon for sustained energy.
Trail Mix Variations
Customize your mix:
- Sweet: chocolate chips, dried cranberries, almonds.
- Savory: pretzels, peanuts, sesame sticks.
- Protein-rich: pumpkin seeds, jerky bits, coconut flakes.
- Jerky and Cheese Sticks
Beef or turkey jerky paired with hard cheese offers protein and salt — both vital on long climbs. - Nut Butter Packets
Single-serve almond or peanut butter packs give instant energy. Spread on rice cakes or eat straight from the pouch. - Dried Fruits
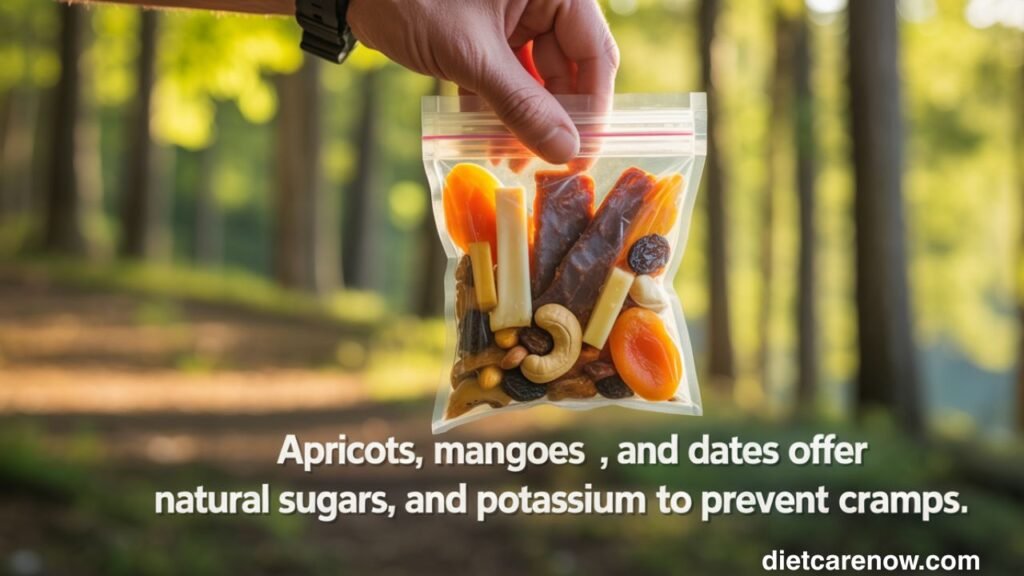
Apricots, mangoes, and dates offer natural sugars and potassium to prevent cramps.
No-Cook Lunch Options for Hikers
Lunch on the trail should be satisfying but not heavy.
- Tuna or Chicken Salad Wraps
Use foil-packed tuna or chicken with a mayo packet, relish, and tortillas. Add some mustard or seasoning for flavor. - Hummus and Crackers
Instant hummus mixes can be prepared with cold water. Pair with pita chips or veggie sticks for crunch. - Canned Beans with Olive Oil
Mix canned black beans or chickpeas with a drizzle of olive oil, salt, pepper, and lemon powder. It’s refreshing and filling.
Easy and Filling No-Cook Dinners
After a long day, a simple dinner can feel luxurious.
- Couscous Salad
Instant couscous can be rehydrated with cold water if left to soak for about 30 minutes. Add dehydrated veggies, olive oil, and seasoning. - Pre-Soaked Ramen
Instant noodles will soften in cold water given time. Add tuna, nuts, or a squeeze of soy sauce for flavor. - Cold Pasta Salad
Cook pasta at home, toss it with olive oil and dried herbs, then store it in a sealed pouch. It’ll keep for up to two days. - Tortilla Roll-Ups
Layer tortillas with cheese, cured meats, or hummus, roll them up, and slice into bite-sized pieces.
Hydration: No-Cook Beverages and Electrolyte Boosters
Water alone isn’t always enough. Long hikes mean lots of sweating, and with it, lost electrolytes.
- DIY Electrolyte Mix
Blend sugar, salt, and powdered lemon drink mix. It replaces essential minerals without the cost of store-bought options. - Flavored Water Enhancers
Zero-calorie powder packets make hydration more appealing, especially in hot weather. - Instant Drink Mixes
Instant protein shakes or powdered greens can boost nutrition when meals are limited.
Hydration Tips:
- Sip regularly rather than chugging large amounts.
- Add extra salt to meals on hot days.
- Store one water bottle for plain water and another for electrolyte drinks.
No-Cook Dessert Ideas for the Trail
Even hikers deserve dessert.
- Energy Bites
Mix oats, honey, peanut butter, and chocolate chips. Roll into balls and store in a small container. They’re sweet and energizing. - Dried Fruit Medley
Combine dried apple rings, mango slices, and coconut flakes for a natural dessert. - No-Bake Protein Cookies
Blend protein powder, oats, almond butter, and maple syrup. Press into cookies and chill before packing.

Vegan and Gluten-Free No-Cook Hiking Meal Options
Dietary needs shouldn’t hold you back from great trail food.
- Plant-Based Proteins
Lentils, chickpeas, nuts, seeds, and nut butters are easy to pack and protein-rich. - Gluten-Free Staples
Opt for rice cakes, corn tortillas, or gluten-free wraps instead of wheat-based products. - Label Reading Tips:
Always check ingredient lists for hidden gluten or dairy. Many store-bought bars and trail mixes contain additives like whey or soy.
Budget-Friendly No-Cook Hiking Meals
You don’t need expensive prepackaged hiking meals to eat well outdoors.
- Affordable Finds
Instant oats, tortillas, canned fish, and nut butter from any grocery store work perfectly. - DIY Mixes
Homemade trail mix or energy bites cost a fraction of store-bought options. - Compare and Save
A single dehydrated meal pack can cost $10–$12, while DIY no-cook meals often cost under $3 each.
Eco-Friendly and Minimal Waste Hiking Food
Part of being a responsible hiker is leaving nature as you found it.
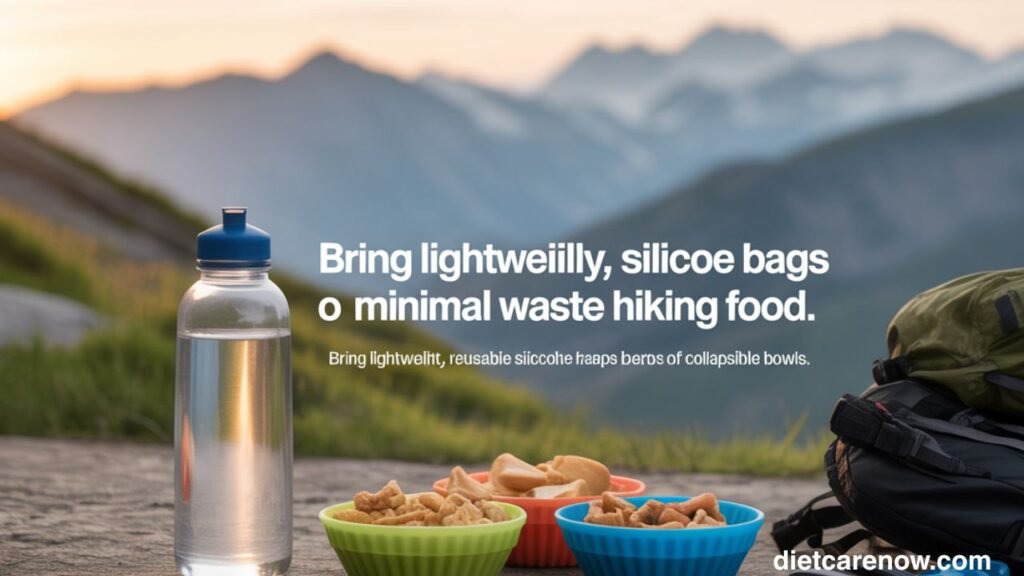
- Reusable Containers
Bring lightweight, reusable silicone bags or collapsible bowls. - Compostable Packaging
Choose compostable wraps and utensils when possible. - Portion Control
Pre-pack only what you’ll eat to minimize waste.
Sample 3-Day No-Cook Hiking Meal Plan
Here’s a sample plan you can adjust based on your trip length and calorie needs (around 2,500–3,000 calories per day).
Day 1
- Breakfast: Overnight oats with almonds and raisins
- Snack: Trail mix with chocolate chips
- Lunch: Tuna wrap with mayo and relish
- Snack: Cheese sticks and apple chips
- Dinner: Couscous salad with veggies and olive oil
Day 2
- Breakfast: Peanut butter tortilla with honey
- Snack: Jerky and dried mango
- Lunch: Hummus with crackers
- Snack: Protein bar
- Dinner: Cold pasta salad with herbs and chickpeas
Day 3
- Breakfast: Energy bar and instant cold coffee
- Snack: Rice cakes with nut butter
- Lunch: Canned beans with olive oil and lemon powder
- Snack: Trail mix
- Dinner: Tortilla roll-ups and energy bites
Tips:
- Rotate meals to avoid boredom.
- Add a multivitamin if on extended hikes.
- Keep backup snacks for emergencies.
Final Tips and Takeaways
No-cook hiking meals are more than just convenient — they can make your outdoor experience smoother, safer, and more enjoyable. With a little planning, you can pack meals that are lightweight, nutritious, and delicious without needing a stove.
Final thoughts:
- Prep and label meals ahead of time.
- Prioritize foods with long shelf life.
- Stay hydrated and mindful of your body’s needs.
- Respect the environment and follow Leave No Trace principles.
Eating well on the trail doesn’t require cooking skills — just smart choices. Whether it’s an overnight adventure or a multi-day trek, your no-cook meals will keep you fueled, focused, and free to enjoy the beauty of the journey.